.png)
Gam Jze Shin / 0353154
Video and Sound Production / Bachelor of Design in Creative Media
Project 2: Shooting Practise & Editing
Instructions
https://drive.google.com/file/d/1pNnKZt0Pcxu_YIIz9cl208TrSvHB3_D-/view?usp=sharing
Project 2
Production Shoot
In this project, we are assigned into 2 teams
which is team B and team S. Team B will shoot
for the Netflix movie 'Beef', while the team S
will shoot the Japanese movie 'Silent'. After
shooting the scene, we should edit it in our own
way. I am in Team B and we separate our roles in
class.


Production Shoot (Editing)
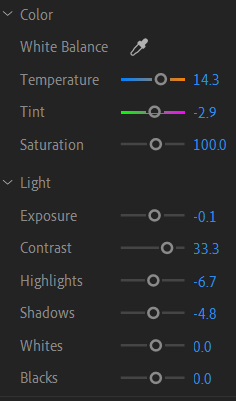
From the Drive, I renamed it and selected the needed video. Then, I insert it into Adobe Premiere Pro.


- Cross Dissolve (Between scene > scene)
- Additive Dissolve (Between black video > scene)
- Dip to black (Between scene > scene/black video)


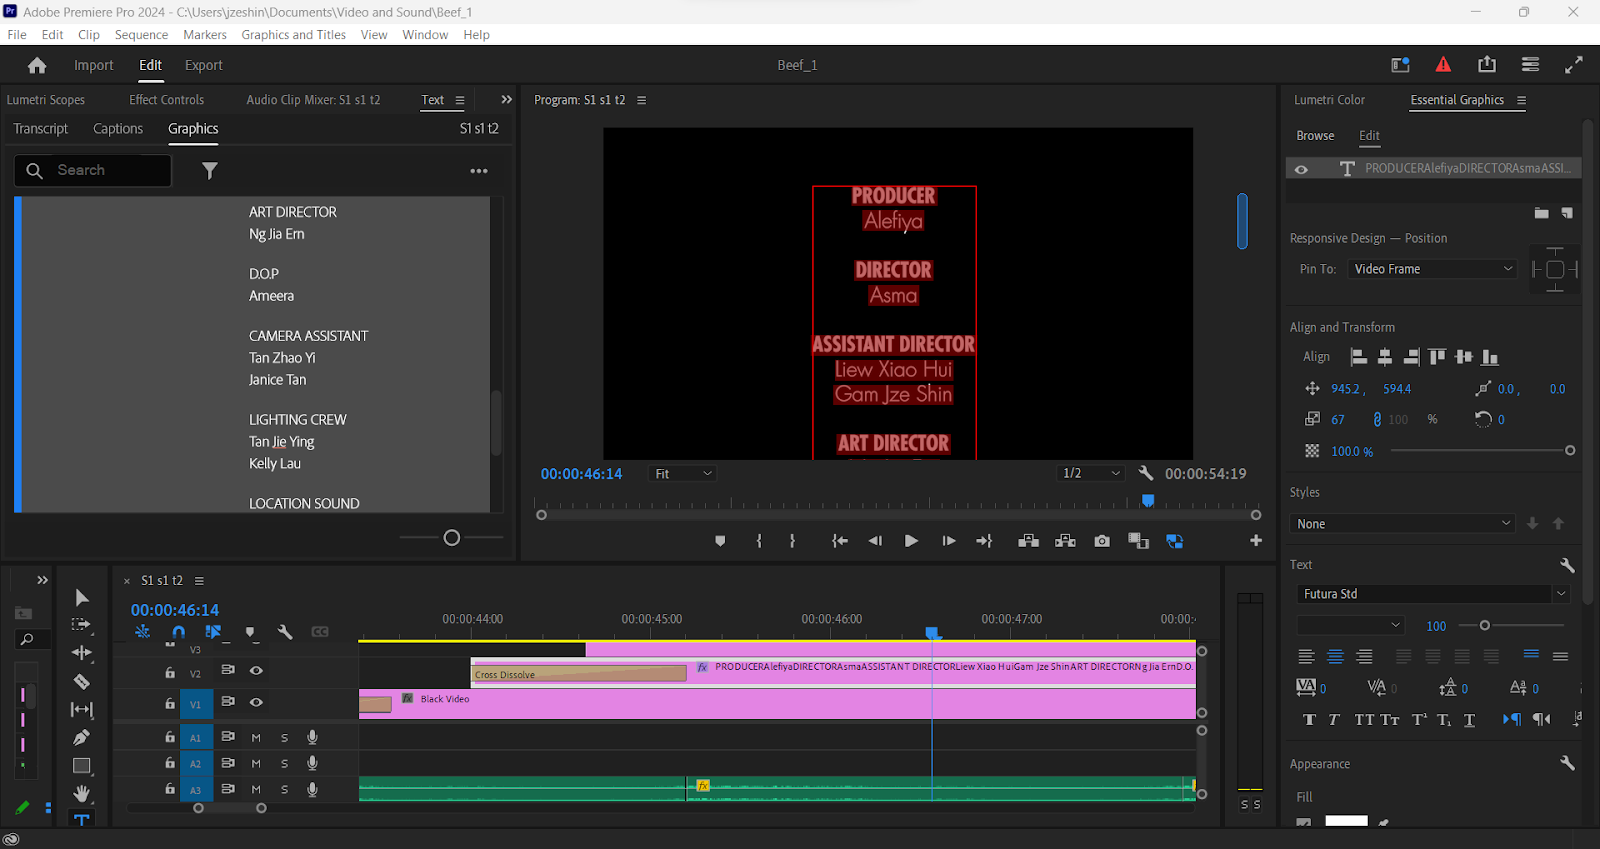

Final Production Shoot
Instagram/ TikTok video treatment


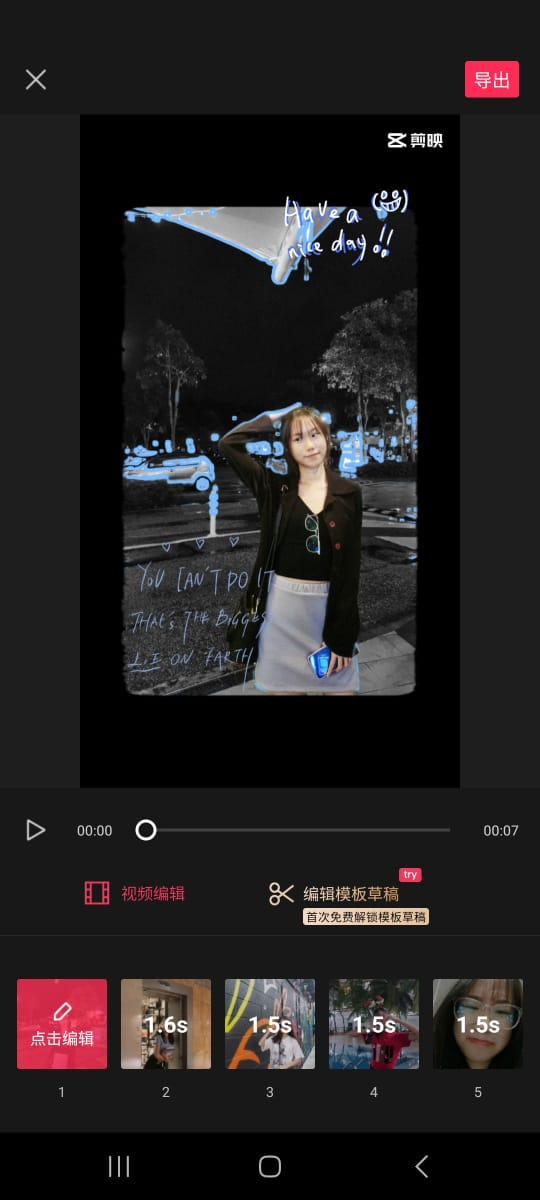
- Cross Dissolve (Between scene > scene)
- Additive Dissolve (Between black video > scene)
- Dip to black (Between scene > scene/black video)


https://www.instagram.com/reel/CzJi8g_S6cn/?igshid=MzRlODBiNWFlZA%3D%3D
Production Shoot
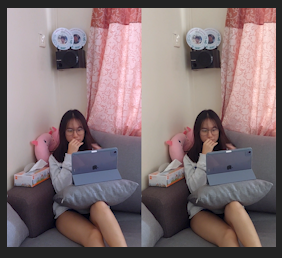
In this task, I studied on how to shoot film video
with others. We divided the work and worked together to better
complete the shoot. From this, I learned that filming
is not easy, and I also realized that every role in
the team is important. When shooting, you need to pay
attention to many details such as camera angles, actor
movements, background lighting and sound recording,
etc. During the editing process, I also learned some
tips to present better visual effects to the
audience.
Comments
Post a Comment